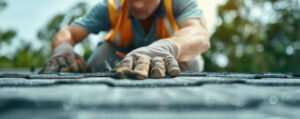


⚠ WarningStop and contact a qualified professional if the siding is several stories high, located near electrical service equipment, extensively water-damaged, or suspected to contain asbestos. Older cement siding products should never be cut or disturbed until properly evaluated.
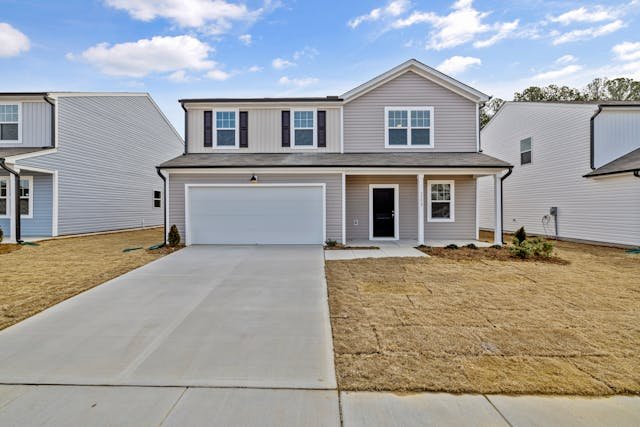
Step 1: Inspect the Damage and Plan the Repair
Begin by walking around the entire home rather than focusing only on the most obvious defect. One loose panel may be the result of wind damage, but repeated warping, staining, or open seams can indicate a larger installation or moisture problem. Inspect the siding from the ground first. Use binoculars or a camera zoom to examine higher areas without climbing unnecessarily.- Identify the siding material. Determine whether the exterior is vinyl, wood, engineered wood, fiber cement, or metal.
- Locate every damaged area. Look beyond the first visible crack or missing panel.
- Check for a moisture source. Examine gutters, windows, roof intersections, vents, and exterior penetrations.
- Measure the affected section. Record panel length, width, profile, exposure, and overlap.
- Find a matching replacement. Match the material and profile before removing anything.
- Cracks, punctures, or impact marks
- Loose, missing, or rattling panels
- Warped or buckled siding
- Soft wood or visible rot
- Rust on metal panels
- Open seams or failing caulk
- Water stains beneath windows and roof edges
- Mold, mildew, or insect activity
✓ Inspection Checklist
- ✓ Identify the siding type.
- ✓ Photograph the damage from several angles.
- ✓ Check the area above the damage.
- ✓ Inspect for water stains or mold.
- ✓ Measure the replacement section carefully.
- ✓ Confirm that matching material is available.
- ✓ Review any existing manufacturer warranty.
TipInspect the siding shortly after rainfall. Damp areas, darkened seams, or sections that dry more slowly than surrounding panels can help reveal where water is entering.
⚠ WarningDo not cover rot, mold, wet sheathing, or damaged flashing with new siding. Identify the source of the moisture, complete the necessary repairs, and allow the wall assembly to dry before closing it.
Step 2: Remove the Damaged Siding and Prepare the Wall
Once you understand the cause and scope of the damage, gather tools appropriate for the siding material. Wear safety glasses, work gloves, sturdy footwear, and respiratory protection when cutting products that generate dust. Typical tools and materials may include:- Pry bar
- Hammer or drill
- Measuring tape and level
- Utility knife
- Vinyl siding removal tool
- Tin snips
- Circular saw with the correct blade
- Exterior-rated sealant
- Corrosion-resistant fasteners
- Replacement siding
- Compatible flashing tape
- Primer or edge sealer
- Release the damaged section. Work carefully so nearby panels remain intact.
- Remove fasteners gradually. Avoid pulling or twisting surrounding siding.
- Inspect the weather barrier and sheathing. Do not assume the damage stops at the surface.
- Repair the underlying wall. Replace deteriorated material and restore flashing where necessary.
- Prepare a flat, dry installation surface. New siding should never be installed over unstable material.
✓ Preparation Checklist
- ✓ Remove loose nails, screws, and debris.
- ✓ Replace damaged flashing.
- ✓ Repair tears in the weather-resistant barrier.
- ✓ Replace soft or deteriorated sheathing.
- ✓ Correct the source of water intrusion.
- ✓ Confirm the wall is flat and dry.
- ✓ Prime exposed wood where required.
TipKeep the removed piece as a reference when shopping for replacement siding. Match the profile, thickness, texture, and exposure—not just the color.
⚠ WarningNever fasten replacement siding into damaged sheathing and assume it will remain secure. The repair needs a sound fastening surface capable of supporting the new material.
Read More in Home Remodel ProZ Blog
- Remodeling Your Kitchen in Fernan Lake Village, ID: Create a Beautiful and Functional Gathering Space
 Learn how modern kitchen renovations transform everyday living with efficient layouts and smart upgrades.
 - Commercial Roof Leak Repair: 3 Steps to Stop Damage Fast
 A leaking commercial roof can quickly become a costly problem if left untreated. This step-by-step guide explains how professional roof leak repairs are performed, from locating the true source of the leak to repairing damaged components and implementing preventive maintenance that helps protect your building for years to come.
 - Kitchen Cabinet Refacing & Door Replacement Fairwood, WA: Affordable Kitchen Transformations
 Learn how cabinet refacing modernizes your kitchen while saving time and money.
Step 3: Install, Seal, and Inspect the Replacement Siding
Cut the replacement piece to match the original section while maintaining any expansion gaps and clearances required by the manufacturer. Different siding materials expand, contract, overlap, and drain water in different ways, so never apply the same installation method to every product.- Dry-fit the replacement. Confirm the dimensions, overlap, and alignment before fastening.
- Install approved fasteners. Use corrosion-resistant nails or screws suitable for the siding material.
- Maintain movement clearances. Avoid fastening expandable materials too tightly.
- Seal only specified joints. Do not block designed drainage paths.
- Complete the finish. Prime, paint, or seal exposed surfaces where required.
✓ Completion Checklist
- ✓ Confirm the replacement matches the surrounding profile.
- ✓ Check that panels are straight and level.
- ✓ Verify that fasteners are secure but not overtightened.
- ✓ Seal exposed cut edges where required.
- ✓ Apply exterior-rated sealant at approved joints.
- ✓ Keep drainage openings clear.
- ✓ Clean the completed repair.
- ✓ Inspect the area again after the next rainfall.
TipSave leftover siding, paint, fasteners, sealant information, and product labels. Future repairs will be easier when you already have matching materials and installation specifications.
⚠ WarningCaulk is not a substitute for flashing. If water enters around a window, door, roof intersection, vent, or utility penetration, repair the flashing system instead of filling every opening with sealant.
Repairing damaged siding is about far more than improving your home’s appearance. Every properly installed panel helps protect the structure from moisture, supports energy efficiency, and extends the life of the exterior wall system.
Use this three-part process:
- Diagnose why the siding failed.
- Repair hidden moisture, flashing, or substrate damage.
- Install the replacement according to the manufacturer’s requirements.